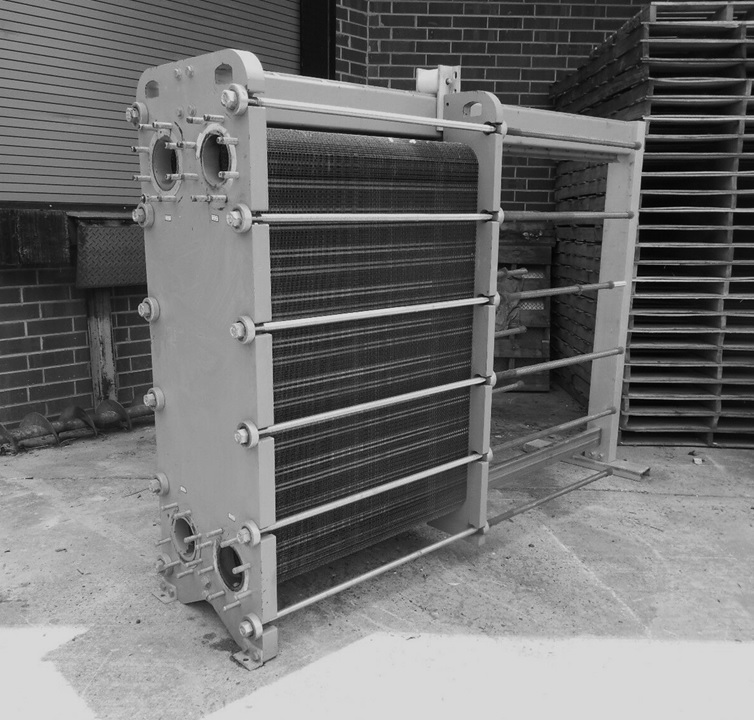
PLATE HX REGASKETTING PROCEDURE
Cleaning a heat exchanger, also known as clean, test, and re-gasketing, is a process used to improve the heat exchange efficiency and extend the life of plate heat exchangers. While the process can be done in-house or by the manufacturer, often times it’s more cost effective to outsource the work. Here is how to clean a heat exchanger for sanitary purposes including food, beverage, dairy processing, and various industrial sectors:
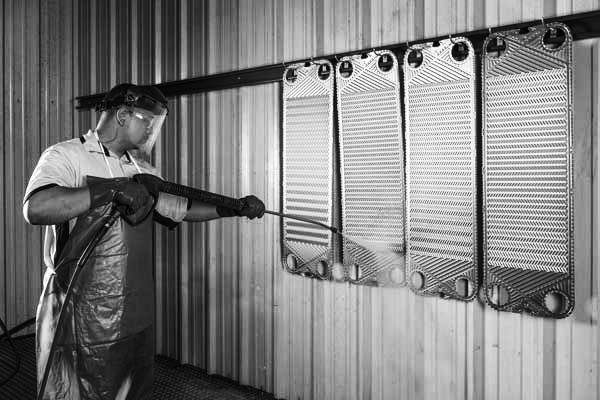
REMOVAL OF OLD GASKETS ➜ Starting with a high-pressure wash and then finish the wash with a hand scrub to remove any product build up. This is an integral step in the process that directly relates to the increased efficiency of the heat exchanger after it’s done being cleaned.
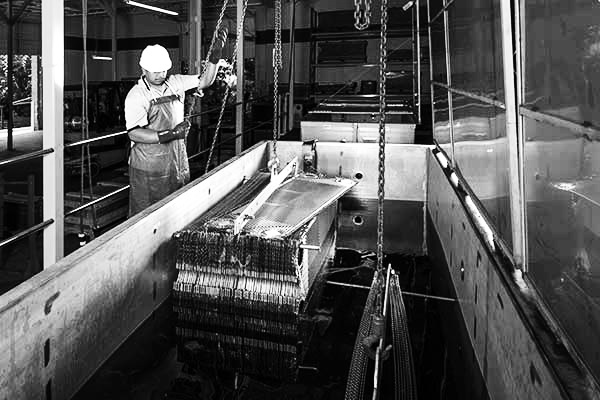
PLATES SOAKING/ CAUSTIC BATH ➜ Soak the plates in a non-abrasive chemical solution to completely remove any leftover build up. The chemical solution type will vary based on the actual product build up you are removing but there are a variety of different mixtures you can create from non-abrasive acids such as acrostic acid.
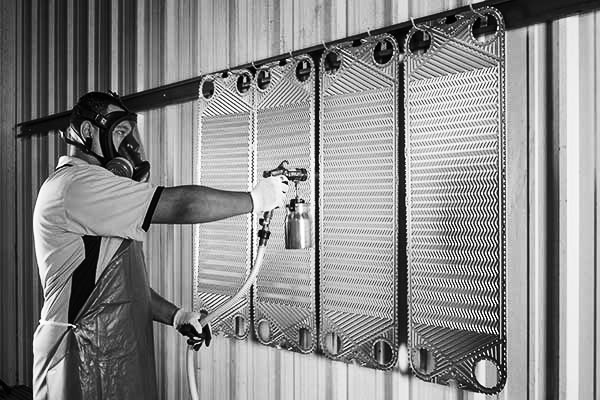
DYE–PENETRANT TESTING ➜ A custom dye spray gun can be applied using a fluorescent dye. After the plates are fully sprayed and dried they can be placed in a dark room and examined under a black light for any defects such as cracks, breaks, holes, etc. Finding these defects during the testing process will eliminate any cross contamination issues in future.
GASKETS GROOVES PREPARATION ➜ Look for a rolled gasket groove throughout the evaluation process which will allow you to prevent re-gasketing. If you don’t find the rolled gasket groove you should replace the plate to avoid unexpected down times.

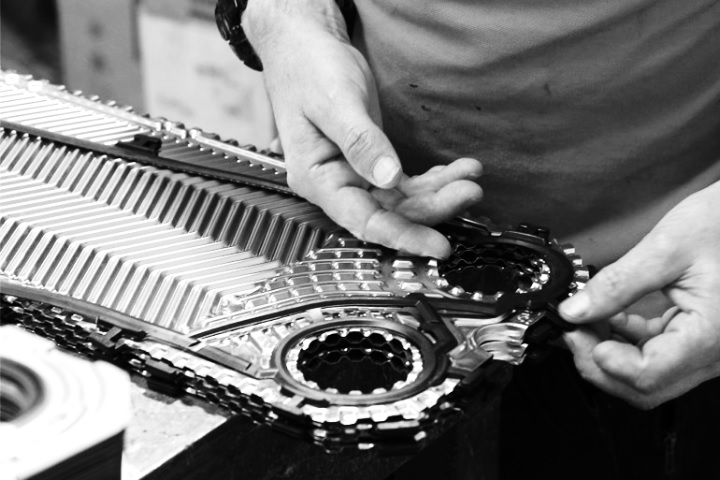
RE–GASKETTING WORKS ➜ Start the re-gasketing process using only OEM manufacturer approved parts. Apply the gaskets back to the plates using an adhesive solution/industrial style glue. You can refer to the manufacturers guide to determine what type of adhesive you should use for your plates. Compress the gasket into the plate groove using the specific measurements for your plates.

HEAT–CURE ➜ Cure the plates in an industrial oven under the specific pressure recommended by the manufacturer. Heat cured gaskets last up to 10 times longer than standard clip on gaskets when the unit has to be opened repeatedly during a run cycle.
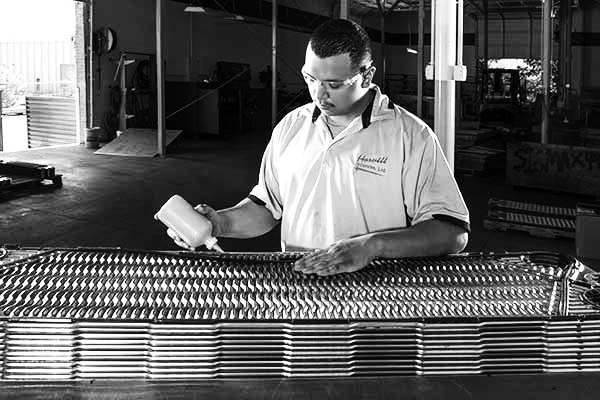
ADHESIVES APPLICATIONS (FOR NON–CLIP TYPE GASKETS) ➜ The plates are properly cleaned manually using clean cloth and gaskets adhesives are cautiously applied into the into grooves. Applied with the right and exact amount of adhesives to prevent overflow on the grooves.
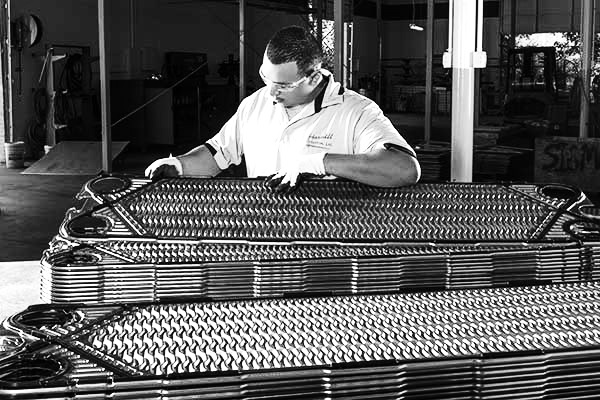
ASSEMBLY PREPARATION ➜ Plate markings are used to prevent plate mix-up. After the markings are in place the plates are compressed in proper numbering by piling up the re-gasketed plates to ensure perfect adhesion in preparation for plates assembly.
PHE PLATES FINAL INSPECTION ➜ Inspect all the plates for straightness of gaskets, strong bonding, surplus adhesives, and any general defects.
PLATES ASSEMBLY/ BOLTS RE–TIGHTENING/ & PRESSURE TEST ➜ Place one plate at a time on the unit until the last plate, tighten nut until overall compressed length is reached, circulate water to test the unit for leaks (hydrotesting), visible leaks, loosen nut check for plates not properly inserted, monitor the unit for leaks during operation. Overall compressed length must be achieved.
PLATE HEAT EXCHANGER IS READY TO USE ➜ The Plate Heat Exchanger rehab is complete and back to A1-condition. Differential pressures, leaks, and other production set points are monitored to record before and after improvements and rectify minor issues onsite.